Stuck with a smaller-SIM card and have to switch to a phone which uses the larger (normal) version?
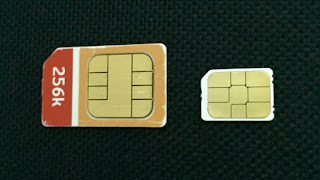
Like a lot of people I recently put in an order for a new iPhone which are several weeks away from delivery, and in simultaneously managed to sell the existing older-generation iPhone. What to use in the meantime? I fished out an older Android phone from one of the storage drawers, but had an issue - it uses a ‘normal’ regular size SIM card. The size difference is shown below.
There were two options. First, to purchase a commercially available adapter as in image below.
Or second, perhaps much more fun and challenging - make my own. I took on the challenge, as I didn’t have the time to wait for a purchased version to come in.
The following ingredients were required:
- Correct measurements template for each of the SIMs -
- take a PDF printout from the helpful folks at nanosim-adapter.com
- A material of the same thickness as a SIM card to make the adaptor
- some thick card - example: discarded garment labels, or in my case, a sock pack cover.
- Tools
- scissors, basic sellotape, a little glue
Steps:
- Take a printout of the earlier mentioned PDF sheet (A4 size). Make sure that in the print preferences, you do not scale down the document, or fit-to-page, or fit-to-margins.
- Cut out the full SIM shape on the page, and
- Glue it to a suitable card material (For me it was a sock packet :) . Make sure to use very little, minimum glue. You don’t want it leaking into your phone.
- Cut the card to the regular SIM shape
- Carefully cut out the hole for the nano-SIM,
- Make sure the actual nano-SIM card fits into the hole on the card.
- Flip the card template and nano-SIM together over on the non-contacts side, and put sellotape across the back.
- Trim down any extra card or sellotape.
- Your nano-SIM adapter is ready
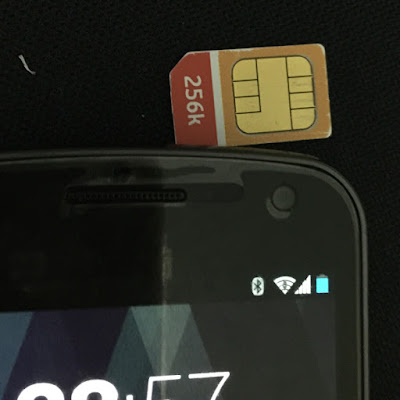
- Put into your phone to test it out.
Note: The website mentioned also offers options of converting a regular-SIM to nano/micro-SIM, which is probably a DIY destructive process. Also to convert micro-SIM to regular-SIM, which is similar to steps above.


